How to Set Up a Kids VoIP Landline Phone at Home | UK Parent Guide 2026
By Pundarik Ranchhod, Kite Inclusive
Published: 25 Jan 2026 · 8 min read
Why Choose a Landline for Kids?
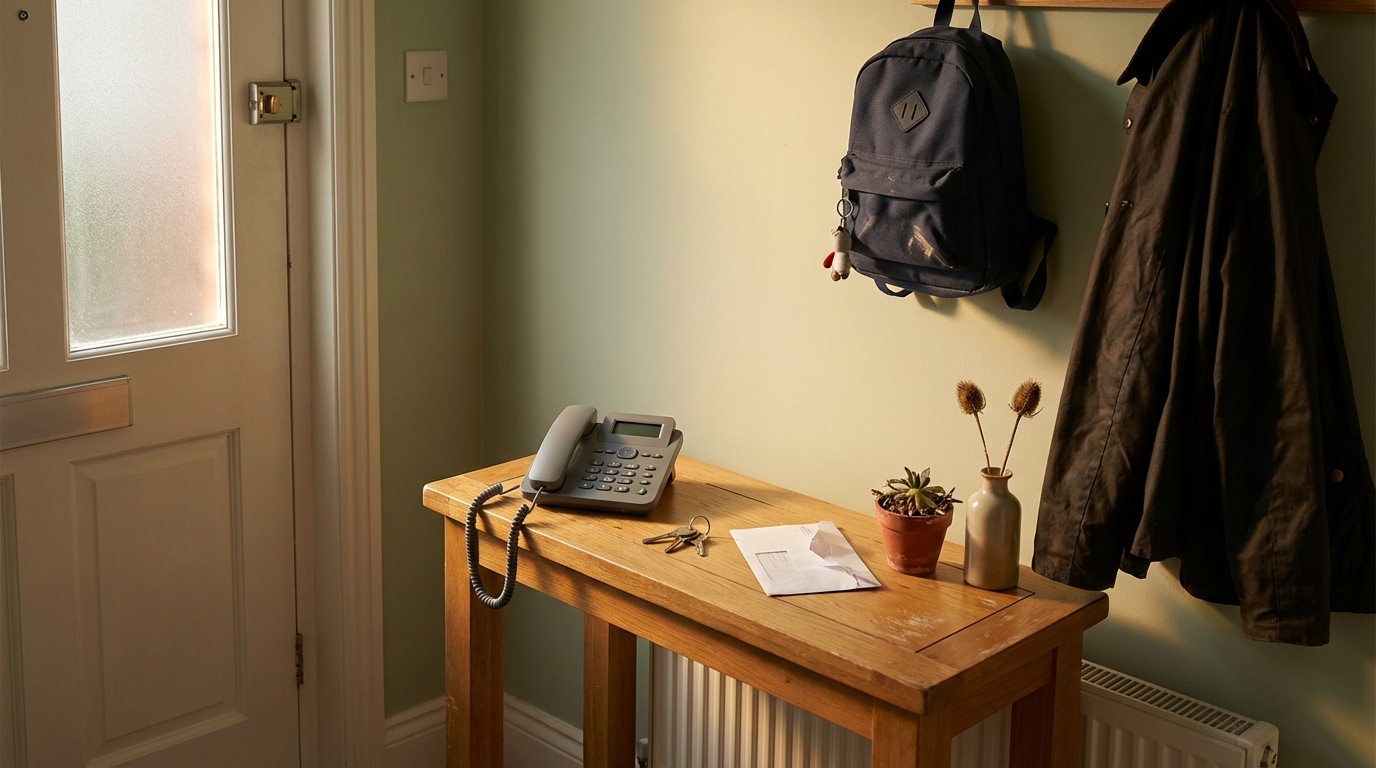
A dedicated landline gives children genuine independence to call friends and family without any of the risks associated with smartphones, tablets, or internet-connected devices. With the traditional BT copper network being switched off by 2027, modern VoIP landlines offer a future-proof alternative that works over your existing broadband connection.
For children aged 5-12, a landline provides a developmentally appropriate communication tool. They learn telephone etiquette, practice conversation skills, and maintain friendships -- all without the documented mental health risks of screen-based devices.
“My son loves knowing that he can call me at anytime. It's his special connection to me and there's no screen involved at all!”
What You Need to Get Started
Setting up a VoIP landline for your child requires just two things:
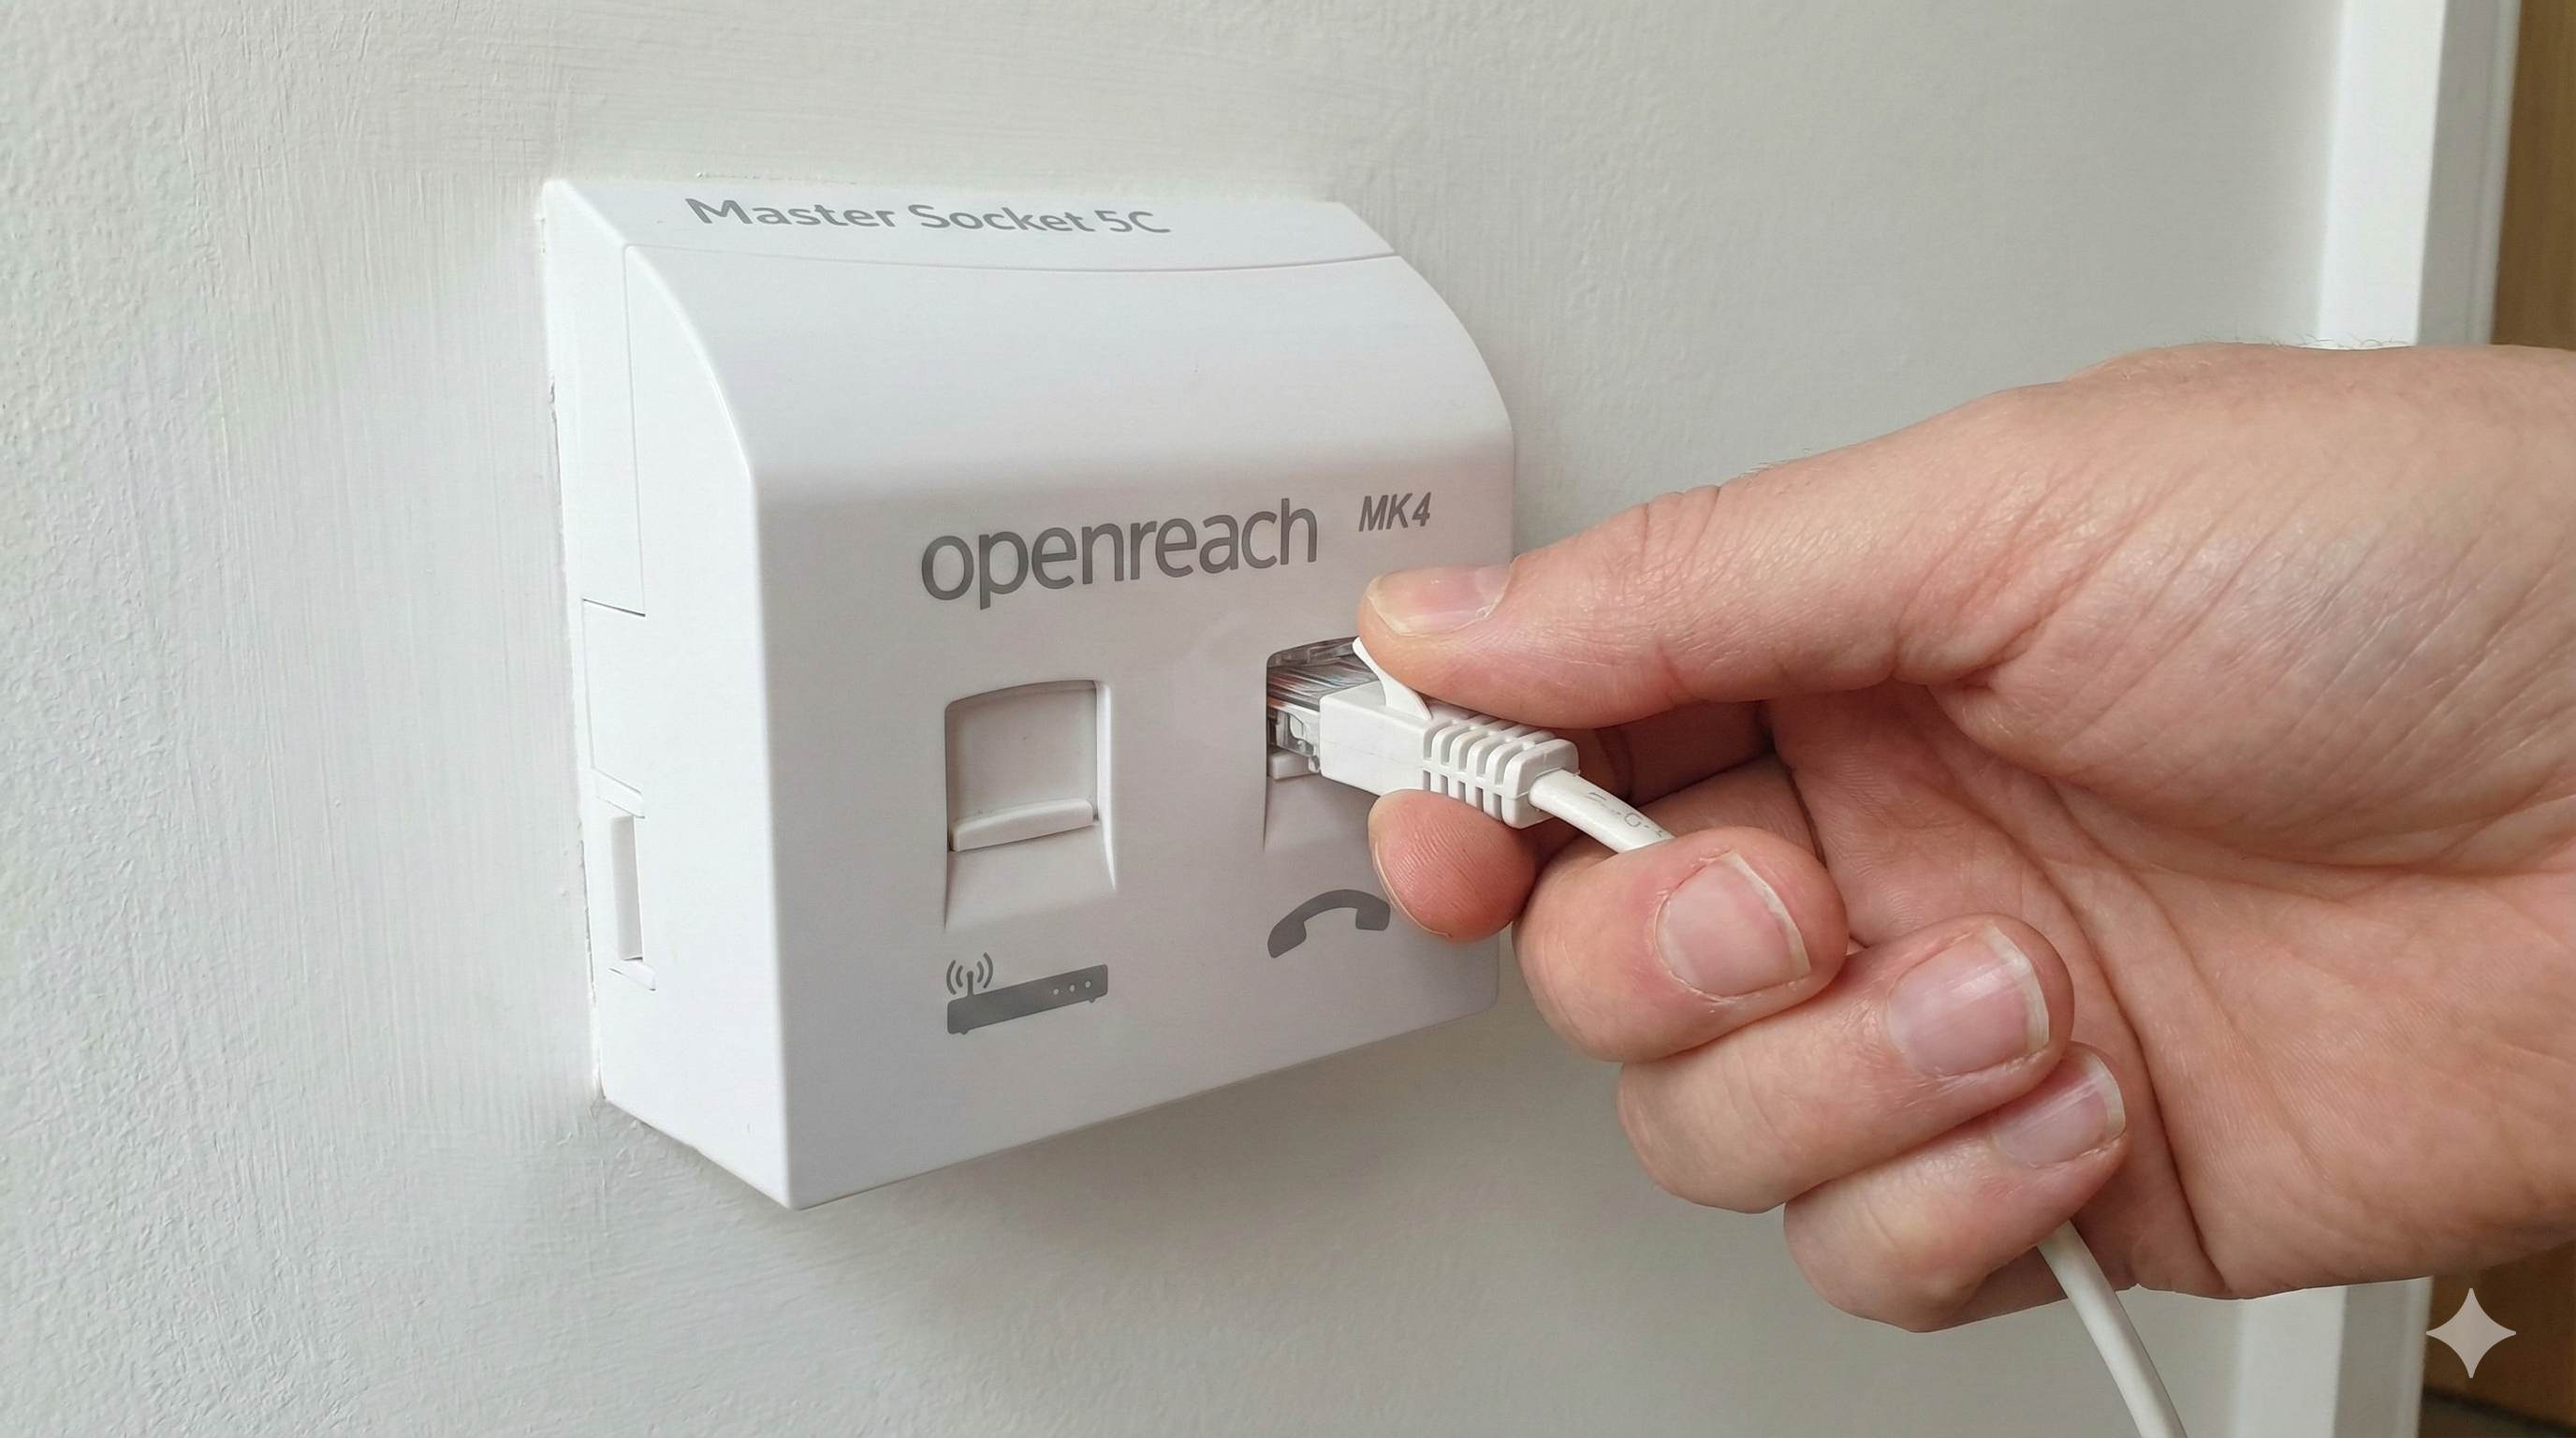
- A broadband connection with WiFi -- any standard UK home broadband will work. You do not need a fast fibre connection; even basic ADSL broadband provides sufficient bandwidth for voice calls.
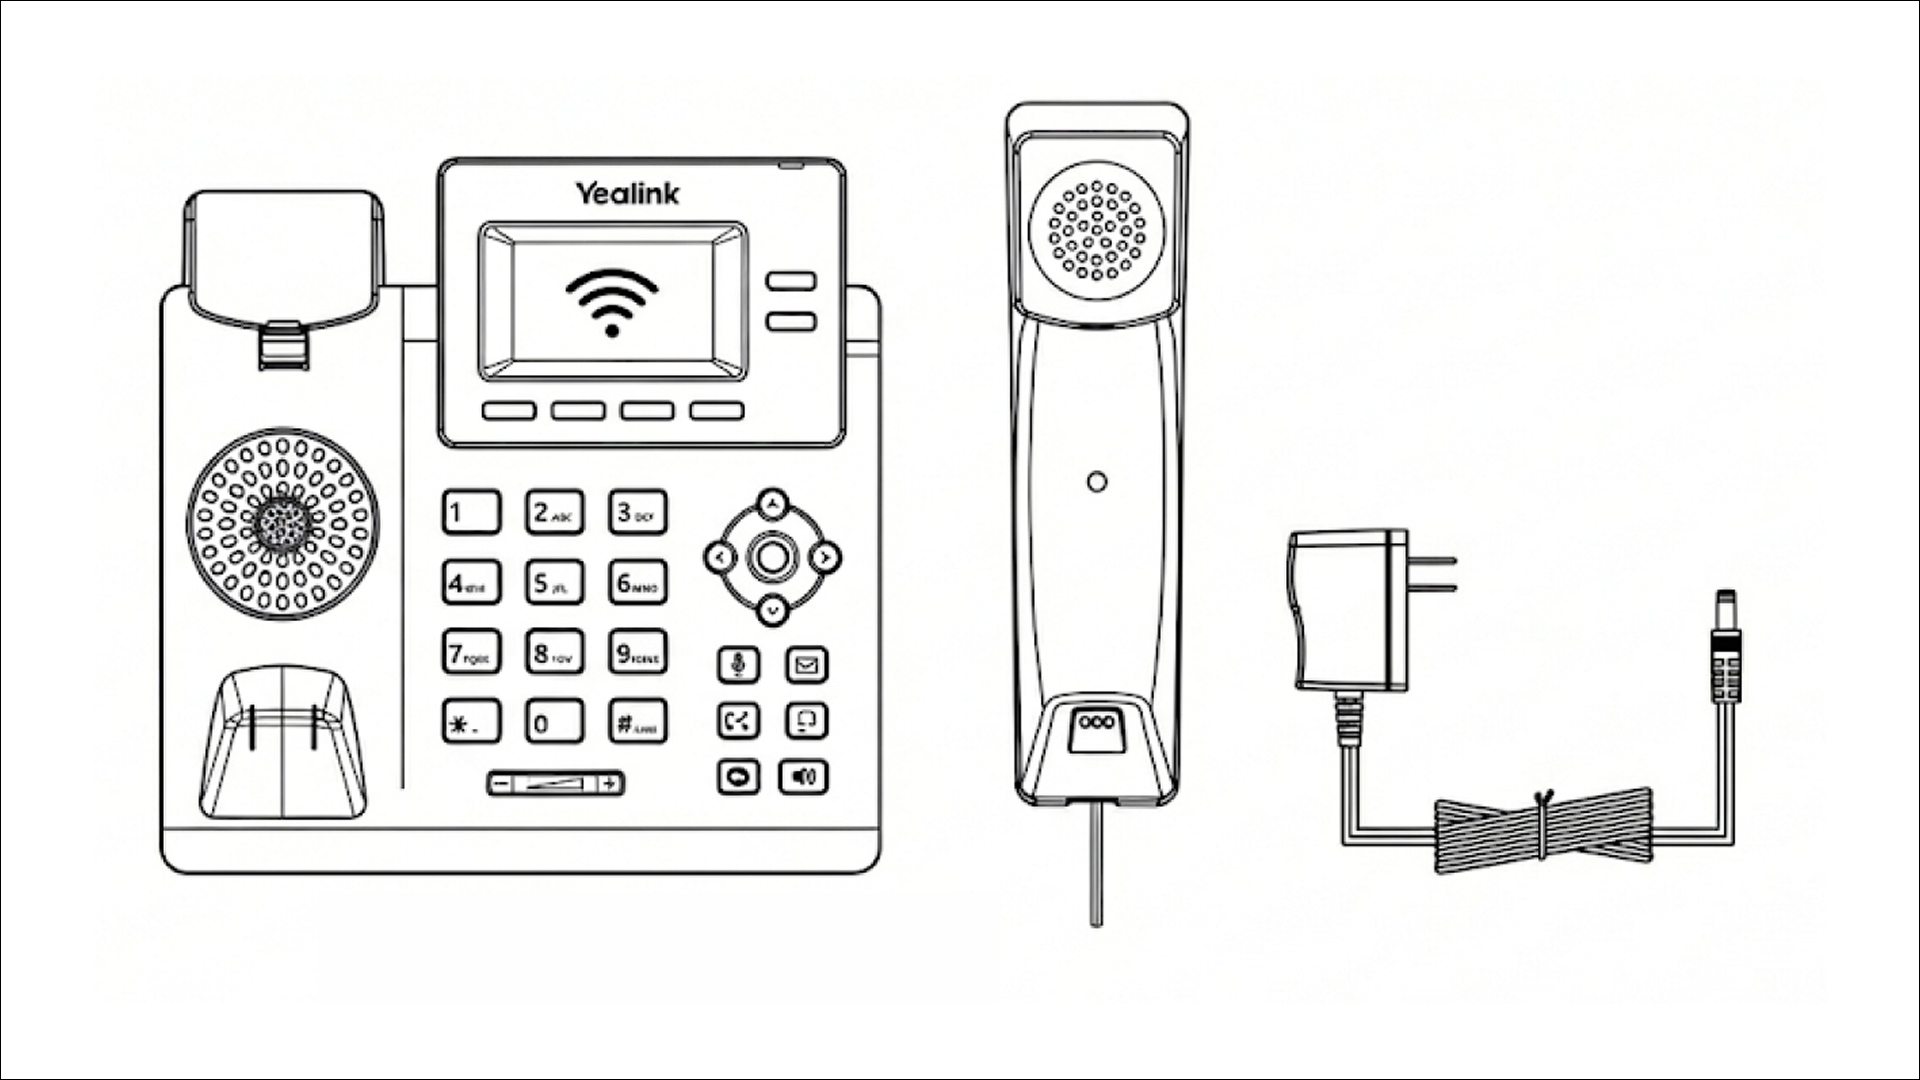
- A VoIP phone service -- such as Kite Phone, which includes the phone hardware in your monthly subscription. The Yealink T31W desk phone arrives pre-configured and ready to connect.
Step 1: Connect the Phone to WiFi
When your Kite Phone arrives, it is pre-configured with the service settings. You simply need to connect it to your home WiFi network:
- Plug the phone into a power socket using the included adapter
- Wait for the phone to boot up (approximately 30 seconds)
- Navigate to the WiFi settings using the phone's menu button
- Select your home WiFi network from the list
- Enter your WiFi password using the phone keypad
- The phone will connect and register automatically
Alternatively, you can connect via an Ethernet cable directly to your router for the most reliable connection. The phone has a built-in Ethernet port and this method requires no WiFi configuration at all.
Step 2: Set Up Speed Dial Contacts
To configure a speed dial key:
- Press the Menu soft key when the phone is idle, and then select Features->Dsskey.
- Select the desired DSS key, and press the Enter soft key.
- Select SpeedDial from the Type field, select the desired line from the Account ID field, enter a label in the Label field, enter the number in the Value field.
- Press the Save soft key to accept the change.
To use the speed dial key:
Press the speed dial key to dial out the preset number.
Step 3: Configure Group Calling
One of Kite Phone's most popular features is group calling, which allows up to 5 people to join a single call.
- Press the Conf soft key during an active call. The call is placed on hold.
- Enter the number of the second party, and press the Send soft key.
- Press the Conf soft key again when the second party answers. All parties are now joined in the conference.
- Press the EndCall soft key to disconnect all parties.
Tips for Success
- Place the phone in a common area -- the kitchen or living room works best. This normalises phone use as a social activity rather than a private one.
- Create a speed dial card -- write your child's speed dial codes on a card they can keep next to the phone until they memorise them.
- Set calling hours -- use the parent portal to restrict calling to appropriate times (e.g. 8am-8pm) so the phone doesn't ring during bedtime.
- Ethernet for reliability -- if your WiFi is sometimes unreliable, connect via Ethernet cable for the best call quality.
Frequently Asked Questions
Related Guides